Assembling a claw machine involves constructing the frame, installing glass and LED lighting, setting up electronics, and mounting the claw mechanism.
Constructing the Frame
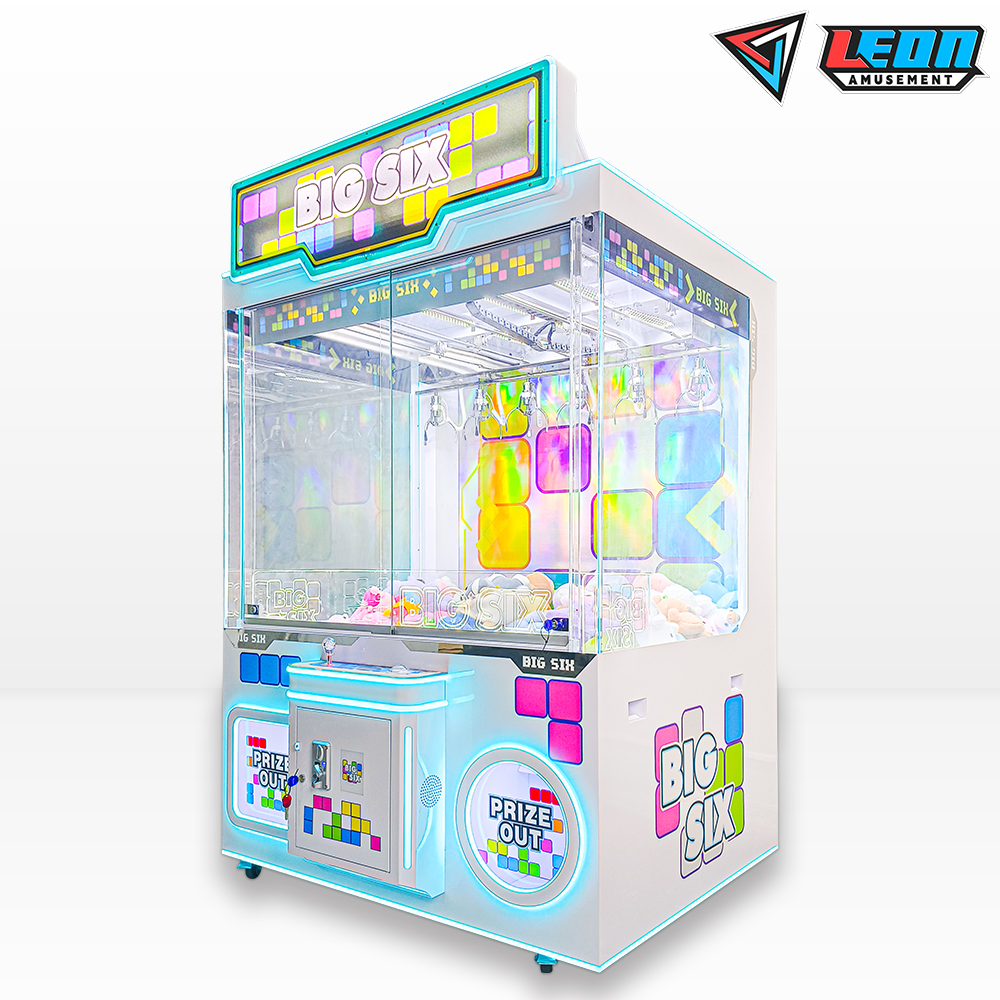
The frame of a claw machine is basically like the skeleton of the system, which gives the claw machine its unique shape and size. The Powermill is carefully built to always look “real”.
Choosing the Right Materials
Steel is primarily used because it is very strong and durable. The steel frame is usually made of 2mm thick steel plates, which have enough strength to cope with regular operation and the dynamic loads usually encountered in the daily arcade environment.
Cutting and forming
The steel plates are then cut to the required size by a CNC plasma cutting table or laser cutting machine, which allows for precise steel cutting with minimal waste. The steel plates are then pushed into a bending machine to obtain accurate angles and folds – part of the breaking process required for the unique design of the machine.
Welding the components together
MIG (metal inert gas) welding is used to weld the chassis and its defined edges, which is a suitable process because of its high welding strength and elegant finish. The available welding elements are placed in strategic locations to make the structure as tight as possible without affecting the flow of the design.
Applying a protective coating
Once the frame is built, it is treated with a powder coating or paint. This not only looks better, but also acts as a barrier against rust and corrosion. Powder coating is a process where dry powdered paint is applied and then melted and fused together using heat, creating a skin-like coating that is harder and more durable than paint.
Installing the Glass and Lighting
Installing the glass and lighting components is a critical step in the assembly of claw machines, as these elements not only enhance the beauty but also ensure safety and visibility.
Choose glass
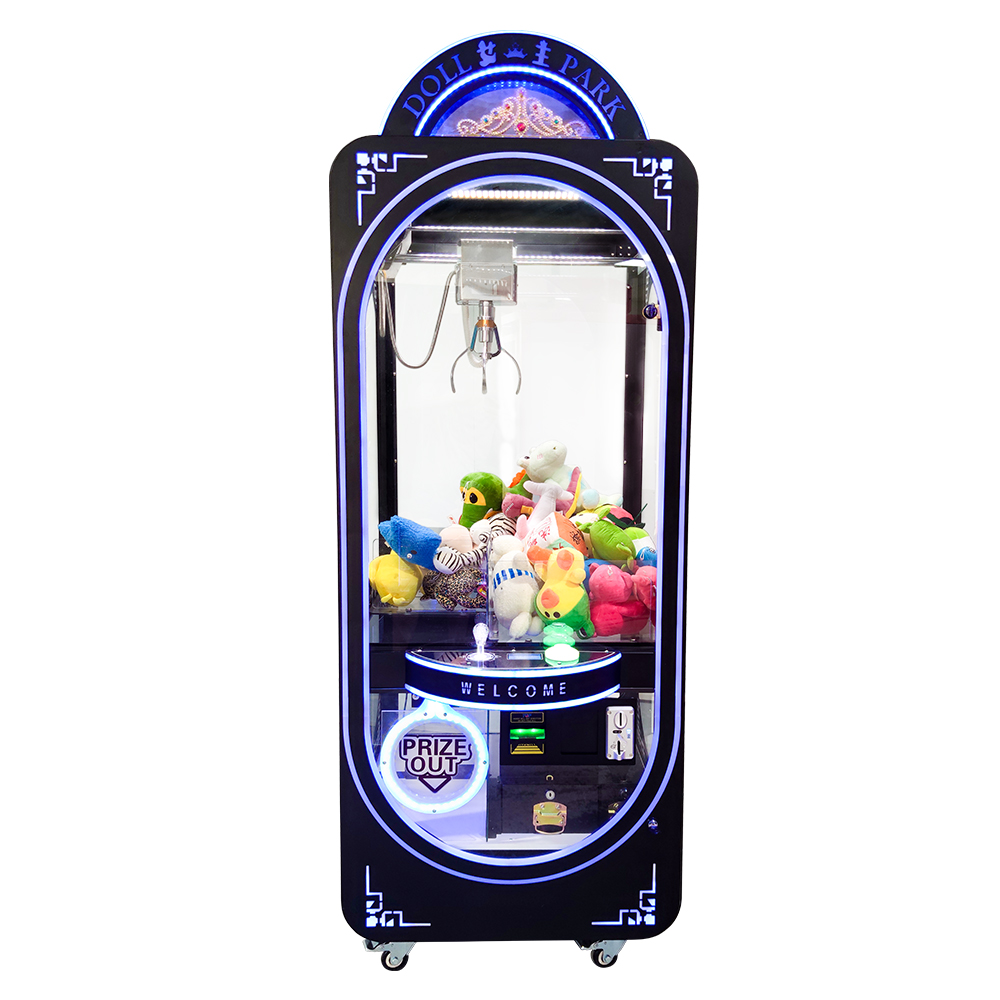
Because the tempered glass panels guarantee safety and durability. In artwork, these panels are usually 6 mm thick to maintain good protection and make the prizes fully visible from the outside. All panels are laser measured and cut to exact dimensions that match the exact dimensions of the machine, so that the panels fit and look perfect.
Fixing the glass
The glass is then fixed in the pre-cut grooves in the frame. We also apply silicone sealant on the edges so that all the glass does not vibrate at high speeds, reducing the cracking or shattering of the glass during work. It has the advantage that the glass can be easily removed and replaced for game play, whenever maintenance or price changes are required.
Integrated LED lighting
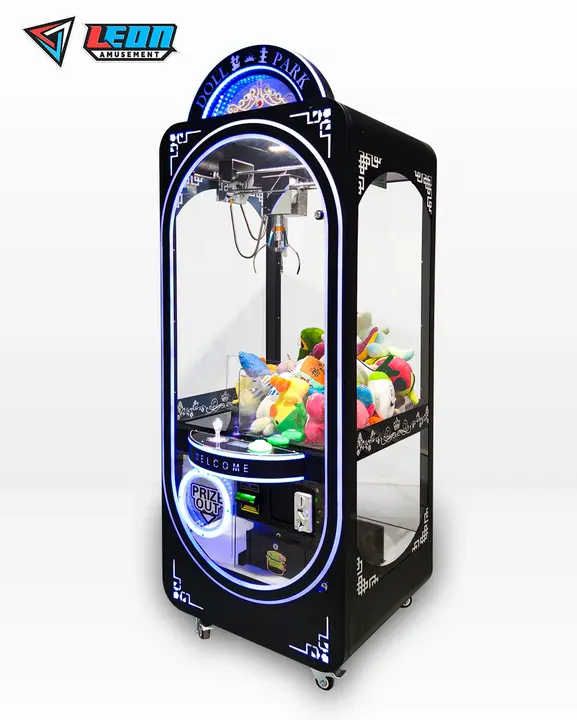
The prizes around the glass frame are illuminated by LED light strips. The LED light strips draw attention to the prizes and naturally attract players. LED lights are used because of their long life and low energy consumption, providing up to 50,000 hours of lighting at very low power. The lights plug into any standard US outlet and interface with an operator-controlled electrical system, which can adjust settings such as color, brightness, and flashing patterns to dictate the tempo for different events in the game.
Safety and Performance Testing
Once the glass and lights are installed, they are thoroughly tested to ensure that everything is safe and working properly. The lighting is periodically tested to ensure that it has good uniformity and illuminates the interior of the machine well.
Setting Up the Electronics
The electronics are the brains of the claw machine, responsible for every element of gameplay, from moving the claw to the scoring system. Here, precision and due diligence are required to ensure that all components work together seamlessly.
Installing the Main Control Board
The claw machine main control board is the circuit board that interprets player inputs into the machine’s mechanics. It is mounted inside the cabinet, usually in an easily accessible location for maintenance. Confirming that the connections match the wiring diagram is key to troubleshooting any possible issues in the future.
Connecting Motors and Sensors
The motors that power the claw’s movements are connected to the main control board via oversized copper wire (for minimal resistance and fastest response time… and a really pretty gold color). The sensors that control the claw’s hand constantly sniff the position of the claw and the position of the airdrop control board. These components must be precisely controlled to ensure that game outcomes can be reliably asserted.
Power Wiring
Mounting the Power Supply Unit: The power supply unit should be mounted and wired in a way that provides a steady, continuous power supply to all the electronic components. The power supply is usually (but not always) rated for 24 volts DC – a common voltage for arcade-specific circuits, as it can provide a lot of power without causing safety issues. Wiring is neat and well cut, cable ties and conduits are used for optimal performance, and every effort is made to eliminate interference and reduce the risk of short circuits.
Testing and calibration
After all parts are installed, the system is tested to ensure that everything functions properly. Therefore, the task is subject to both horizontal claw stretching and different gravity coordinates to ensure the response of the claw, the accuracy of the sensors and the stability of the force source. This process calibrates the strength and accuracy of the claw, ensuring that the game is fair and fun for every user.
Mounting the Claw Mechanism
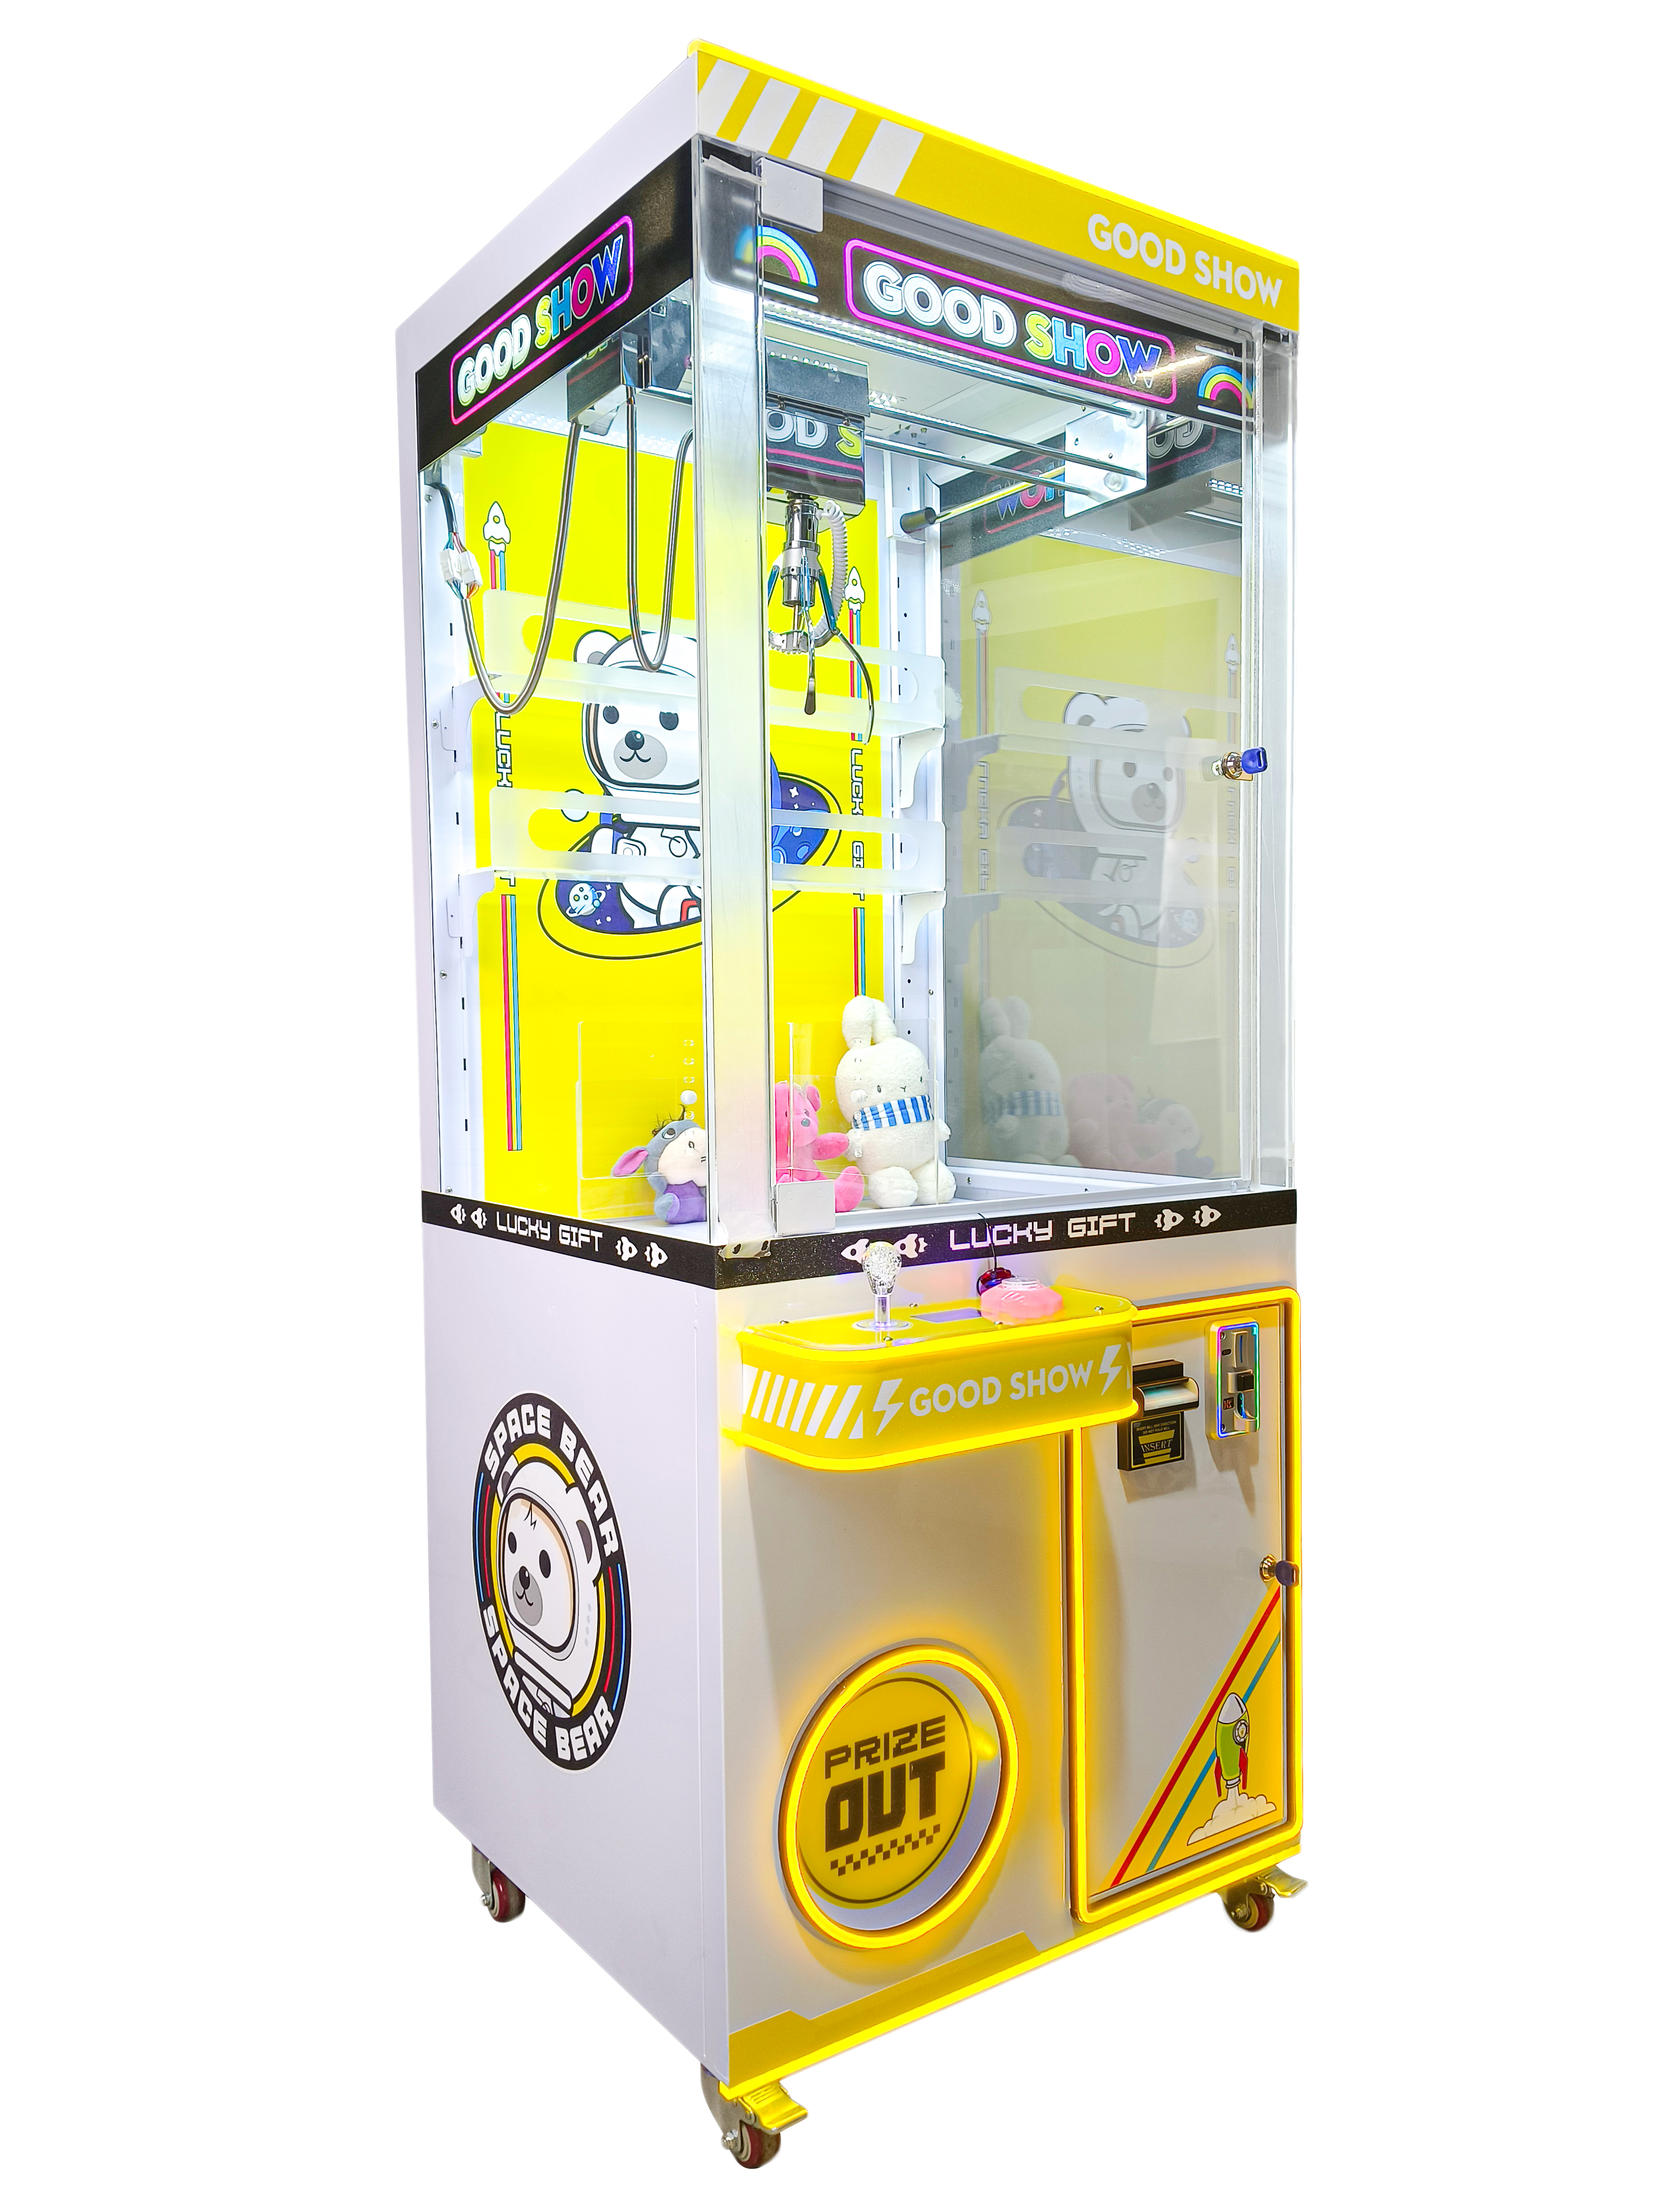
The claw mechanism is an essential part of claw machine assembly as it determines the gameplay and user experience. Precise placement during installation ensures that the claw operates easily and consistently during gameplay, recreating the thrill of the chase for all players.
Assembling the claw assembly
The claw assembly (consisting of the motor, linkage, and claw) is an incredible feat of engineering where all components are carefully designed to work together perfectly, with one prone to malfunction and failure…. It is typically made of durable metals such as stainless steel or aluminum to provide the proper strength and longevity while remaining lightweight to ensure it is easy to operate.
Connecting to overhead track
The assembled claw mechanism is then mounted to an overhead track system that allows the claw to move back and forth over the prize area. The track system is perfectly spaced to the frame so that it can glide easily without any binding or yanking that would hinder gameplay or cause damage to the machine.
Connecting the drive motors
A set of motors (drive motors) are installed to control the movement of the claw. All of these motors are carefully designed to control the speed and direction of the can grabbing claw very precisely. In the setup where we have the claw moving at 2-3 inches per second, it generally provides a reasonable challenge and considerable satisfaction for the average player.
Final Testing and Adjustments
The claw mechanism is then installed and rigorously tested to ensure everything is aligned correctly and functioning properly. We adjust the claw’s opening and closing force to ensure it picks up the prize well without being too strong, which could damage the prize or the machine. The track system is being slightly adjusted so that the claw can reach all parts of the prize box evenly.